【Python3】 使用django 2.0 + python3.6.4 创建应用,,python版本:3
【Python3】 使用django 2.0 + python3.6.4 创建应用,,python版本:3
python版本:3.6.4
django版本:2.0
1 创建应用
输入命令
python manage.py startapp blog
2 在项目目录创建templates文件夹 用于存放我们的web页面 这里 创建一个 index.html
<!DOCTYPE html> <html> <head> <span style="white-space:pre;"> </span><meta charset="utf-8"> <span style="white-space:pre;"> </span><title>我的网站</title> </head> <body> <h1>欢迎光临我的网站!</h1> </body> </html>
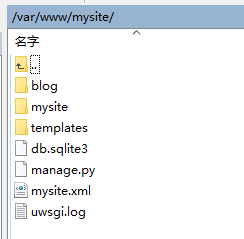
之后目录是这样的
3 移动到 文件夹位置 : mysite/mysite/
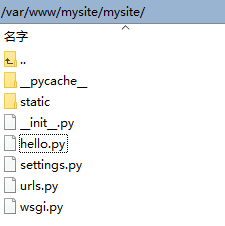
修改 urls.py :
from django.contrib import adminfrom django.urls import path, includefrom . import hellourlpatterns = [ path(‘‘, hello.index), # 访问mysite的欢迎页 path(‘admin/‘, admin.site.urls), path(‘blog/‘, include("blog.urls"))#包含blog应用中的urls ]新建 hello.py, 键入内容
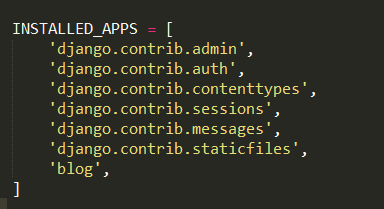
from django.shortcuts import renderfrom django.http import HttpResponse# 此页面处理项目首页内容def index(request): return HttpResponse("Hello, python!")修改settings.py
INSTALLED_APP 加上我们的应用名称 : blog
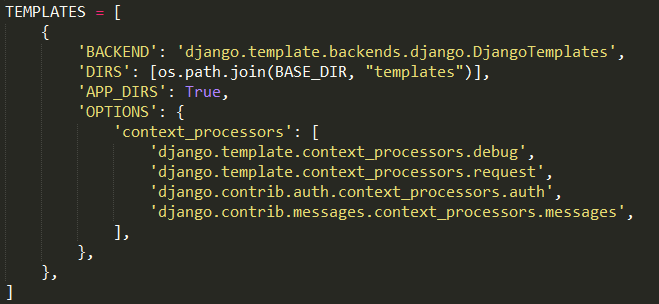
TEMPLATES 添加我们的模板路径 DIRS
4移动到 文件夹位置 : mysite/blog/
修改views.py
from django.shortcuts import renderfrom django.http import HttpResponse# Create your views here.def index(request): return HttpResponse("Hello, world. You‘re at the blog index.")def home(request): return render(request,‘blog/index.html‘)新建文件urls.py 键入内容
from django.urls import pathfrom . import viewsapp_name = ‘blog‘urlpatterns = [ path(‘index/‘, views.index), path(‘home/‘, views.home), ]
5 模板位置
/mysite/mysite/templates/blog/index.html
6 重启一下 uwsgi
cd /var/www/mysite
killall  -9 uwsgiuwsgi -x mysite.xml
提示: 一定要记得重启。不然不生效。而且是每修改一下代码也要重启
【Python3】 使用django 2.0 + python3.6.4 创建应用
评论关闭